Travel Destinations
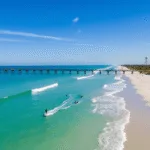
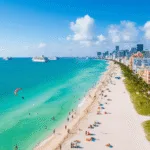
From hidden coastal gems to vibrant beach towns, travel is all about discovering places that spark a sense of freedom and adventure. Whether it’s chasing waves in tropical destinations or finding quiet moments by the shore, every journey brings new inspiration. These destinations are more than just beautiful locations, they’re experiences that shape stories, memories, and a deeper connection to the world.

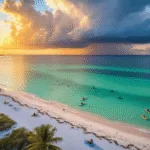
Windsurf Lifestyle
The windsurf lifestyle is all about freedom, energy, and living in tune with the elements. It’s early mornings by the water, watching the wind pick up as the day begins, and chasing that perfect balance between speed and control. Every session brings a new challenge, a new rush, and a deeper connection to the ocean.
Meet Stacey Baker
Stacey Baker is a 26-year-old surfer and lifestyle blogger from Florida, inspired by the rhythm of the ocean and the freedom of coastal living. With a passion for waves, travel, and storytelling, she shares her journey through sun-soaked beaches, hidden destinations, and everyday moments that feel anything but ordinary.
Her world revolves around early mornings in the water, chasing the perfect swell, and turning those experiences into inspiration for others. Through her content, Stacey brings together adventure, creativity, and a laid-back lifestyle, inviting you to slow down, explore more, and embrace life by the sea.

Stacey Baker
Windsurfer / Blogger / Florida
Latest from Stacey
- “Why Sarasota in December Will Blow Your Mind: The Ultimate Winter Escape You Never Knew You Needed”

- 15 Stunning Backsplash Ideas for White Cabinets: Transform Your Kitchen with Style

- 15 Stunning Bedroom Cupboard Ideas to Transform Your Space
- 15 Stunning Florida Garden Ideas: Your Ultimate Guide to Tropical, Sustainable Landscapes
- 17 Tiny Bedroom Ideas That Actually Make Your Space Feel Bigger (I Tried Them All)
- 2026 Bathroom Design Ideas: The Wellness Revolution Starts Here


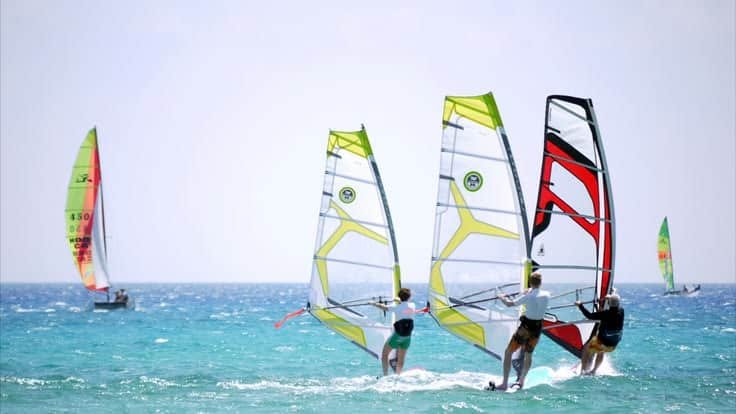
Where the Wind Meets the Waves
For Stacey Baker, windsurfing is more than a sport, it’s a way of understanding the ocean on a deeper level. Growing up along the coast of Florida, she was drawn to anything that combined wind, water, and movement. Windsurfing quickly became her favorite way to experience the sea, blending balance, strength, and freedom in a way nothing else could.
Every time she steps onto the board, it feels like a reset. The wind dictates the pace, the waves set the challenge, and Stacey responds with focus and flow. Whether she’s gliding across calm morning waters or pushing through stronger coastal winds, each session brings a new lesson and a renewed sense of connection to nature.
Over time, windsurfing has shaped not only Stacey’s lifestyle but also her perspective on life. It has taught her patience, adaptability, and the importance of embracing the moment. Through her experiences, she hopes to inspire others to step outside, try something new, and discover their own version of freedom on the water.